FAQs
What is large banner printing?
Large banner printing refers to the process of creating high-quality banners that are larger compared to standard prints. These banners are typically used for various purposes, including outdoor advertising, trade shows, event banners, conferences, and retail displays. Large banners offer exceptional clarity, vibrant colours, and durability.
Benefits of Giant Banners
Giant banners offer several advantages over smaller marketing materials. Some key benefits include:
- High Visibility
Huge banners have the advantage of being easily noticeable from a distance. They can catch the attention of passers-by and effectively convey your message, even in crowded locations.
- Brand Exposure
With their larger surface area, large banners provide an excellent opportunity to showcase your brand logo, tagline, or key messages, enhancing brand visibility and recognition.
- Impactful Communication
The size of large banner printing allows for creative and impactful designs. You can use bold graphics, vivid colours, and compelling text to make a lasting impression on your target audience.
- Versatility
Big banners can be used in various settings, including indoor and outdoor environments. They are versatile marketing tools that can adapt to different promotional needs.
What are large banners used for?
Large banners are a cost-effective marketing tool used to promote events or brands. Here are some common uses for large banners:
1. Display Banners
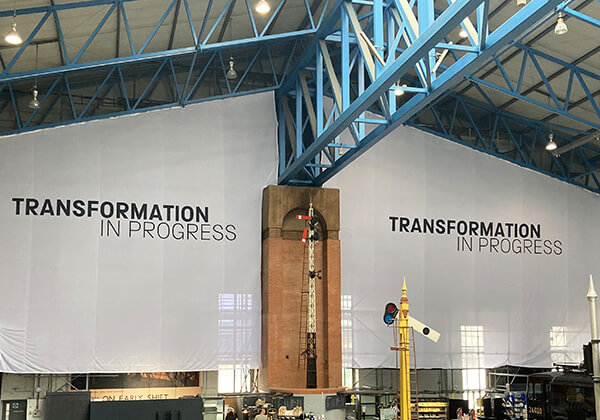
Large display banners are used for showcasing products, services, or announcements in high-traffic areas. These banners are ideal for retail environments, trade shows, and public events where grabbing the attention of passersby is crucial.
2. Advertising Banners
Large advertising banners are primarily used for promotional purposes, such as advertising sales, new products, or upcoming events. They are often placed in strategic locations like highways, building exteriors, and sports arenas to reach a broad audience.
3. Large Banners for Business
Businesses use large banners to enhance brand visibility, announce openings or special events, and provide information about services or promotions. These banners can be displayed outside storefronts, at corporate events, or within office buildings to attract and inform customers.
4. Backdrop Banners
Large backdrop banners serve as the perfect background for events, photoshoots, and presentations. They are commonly used in conferences, weddings, and stage events to create a professional and branded environment.
5. Exhibition Banners
Large exhibition banners are essential for trade shows and expos, helping businesses stand out among competitors. These banners highlight key information about products or services and are designed to attract attendees to the booth.
6. Banners for Buildings
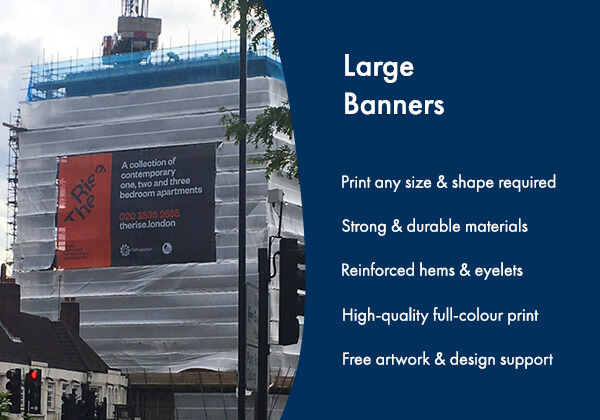
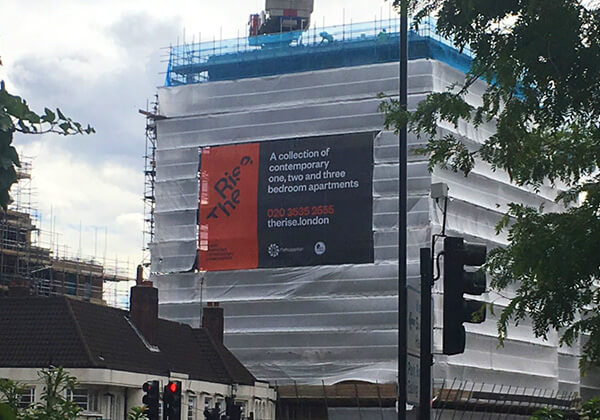
Large banners for buildings are used for massive advertising campaigns and public announcements. They can cover entire sides of buildings, promoting brands, events, or public messages on a grand scale. These banners are often seen in urban areas and can be a focal point in cityscapes.
Large banner design tips
Designing an effective large banner involves careful consideration of various elements to create an eye-catching and impactful visual display. Here are some tips to guide you:
Clear and Concise Message
Keep your message concise and easy to understand. Use bold and legible fonts, ensuring that the text is visible from a distance.
High-Quality Images
Incorporate high-resolution images that align with your brand and message. Images should be relevant, captivating, and convey the desired emotion.
Colour Selection
Choose colours that evoke the desired emotional response and align with your brand identity. Use contrasting colours to create visual interest and ensure readability.
Proper Scaling
Ensure that your design elements are properly scaled to maintain clarity and visibility. Avoid overcrowding the banner with too many elements that can distract from the main message.
Call-to-Action (CTA)
Include a clear and compelling call-to-action that prompts viewers to take the desired action, whether it’s making a purchase, visiting your website, or contacting you.
Best fonts for large banners
Choosing the best fonts for large banner printing involves selecting fonts that are highly readable from a distance, have a strong visual impact, and align with the overall message and design of the banner. Here are some of the best fonts for large banners:
1. Sans Serif Fonts
Sans serif fonts are clean, modern, and easy to read from a distance. Some popular choices include:
- Helvetica – known for its simplicity and readability
- Arial – versatile and widely used
- Futura – geometric and contemporary
- Gotham – bold and authoritative
- Open Sans – friendly and approachable
2. Slab Serif Fonts
Slab serif fonts have thick, block-like serifs that make them highly legible and impactful.
- Rockwell – strong and bold
- Clarendon – classic and distinctive
- Roboto Slab – modern and clean
3. Bold and Display Fonts
These fonts are designed to grab attention and make a statement.
- Impact – extremely bold and eye-catching
- Bebas Neue – tall, condensed, and modern
- Oswald – condensed and bold, great for headlines
- Anton – bold and powerful
- League Gothic – classic and condensed
4. Script and Decorative Fonts
Use these sparingly and primarily for headings or accents.
- Pacifico – casual and friendly
- Lobster – bold and retro
- Great Vibes – elegant and flowing
Tips for Choosing Fonts for Huge Banners
- Readability – ensure the font is easily readable from a distance. Avoid overly intricate or thin fonts.
- Contrast – use high contrast between the text colour and background to enhance readability.
- Size – use large font sizes to ensure the text stands out.
- Simplicity – keep the design simple to avoid cluttering the banner.
- Consistency – maintain a consistent font style throughout the banner to create a cohesive look.
Combining fonts for large banners
Combining fonts can add visual interest and hierarchy to your large banner. Pair a bold font for headings with a simple sans serif for subheadings or body text. Here are a few combinations:
- Helvetica (Heading) + Open Sans (Body)
- Bebas Neue (Heading) + Roboto (Body)
- Oswald (Heading) + Lato (Body)
How to create a large banner in Photoshop
Creating a big banner in Photoshop involves several steps to ensure that the design is both visually appealing and print-ready. Here’s a step-by-step guide to help you create a large banner:
1. Set Up Your Document
- Open Photoshop and create a new document.
- Go to File > New.
- Set the Width and Height to the dimensions of your banner. For example, if your banner is 6 feet by 3 feet, set the dimensions to inches (72 inches by 36 inches) for better precision.
- Set the Resolution to 150-300 DPI (dots per inch). Higher resolution is better for print quality.
- Choose CMYK Color for the Color Mode if the banner is for printing, as this is the standard colour mode for print materials.
2. Set up Guides and Grid
- Use guides and grids to help you align elements properly.
- Go to View > New Guide Layout to set up a grid with columns and rows.
- Alternatively, you can manually add guides by dragging from the rulers (Ctrl+R to show rulers if they are not visible).
3. Add Background
- You can use a solid colour, gradient, or an image as the background.
- To add a solid colour or gradient, use the Paint Bucket Tool or Gradient Tool.
- To add an image, go to File > Place Embedded, select your image, and resize it to fit the background.
4. Add Text
- Use the Type Tool (T) to add text.
- Choose appropriate fonts that are legible from a distance (refer to the list of recommended fonts).
- Adjust the font size, colour, and style in the Character panel (Window > Character).
5. Add Images and Graphics
- Import images or graphics by going to File > Place Embedded.
- Use Free Transform (Ctrl+T) to resize and position them.
- Ensure images are high resolution to avoid pixelation.
6. Apply Effects and Adjustments
- Add effects like drop shadows, strokes, or glows to make elements stand out (Layer > Layer Style).
- Use adjustment layers (Layer > New Adjustment Layer) to fine-tune colours and contrast.
7. Organize Layers
- Name and group layers to keep your workspace organized.
- Use layer masks to blend images seamlessly.
8. Check Your Design
- Zoom in and out to check the details and overall composition.
- Use Proof Setup (View > Proof Setup > Working CMYK) to see how colours will look when printed.
- Save Your Work
- Save your file as a PSD (Photoshop Document) to preserve layers and editability (File > Save As).
- Save a copy in a high-resolution format suitable for printing, such as TIFF, PDF, or JPEG (File > Save As or File > Export > Export As).
By following these steps, you can create an effective and visually appealing large banner in Photoshop.
How to Create a Large Banner in Illustrator
Creating a large banner in Adobe Illustrator involves several steps to ensure that the design is high-quality and suitable for printing. Here’s a step-by-step guide:
1. Setting Up Your Document
- Open Illustrator: Start Adobe Illustrator and create a new document.
- Create a New Document: Go to File > New or press Ctrl+N (Windows) / Cmd+N (Mac).
- Set Dimensions: Enter the dimensions for your banner. For example, if your banner is 6 feet by 2 feet, set the width to 72 inches (6 feet * 12 inches) and the height to 24 inches (2 feet * 12 inches).
- Resolution: For large banners, 150 DPI (dots per inch) is usually sufficient. Set the raster effects to 150 ppi by going to Effect > Document Raster Effects Settings.
2. Design Your Banner
- Add Background: Use the Rectangle Tool (M) to create a background shape that covers the entire artboard.
- Add Text: Use the Type Tool (T) to add any text. Make sure the font size is appropriate for viewing from a distance.
- Add Images: Place high-resolution images by going to File > Place. Ensure images are in CMYK mode for better print quality.
- Add Logos and Graphics: Import any vector graphics or logos. Vector graphics are ideal because they scale without losing quality.
3. Organize Your Layers
- Use Layers: Organize different elements (background, text, images, graphics) into layers for easier management.
- Name Layers: Name your layers appropriately to keep track of different elements.
4. Colour Mode and Swatches
- Set Color Mode: Ensure your document is in CMYK colour mode by going to File > Document Color Mode > CMYK Color.
- Use Swatches: Use the Swatches panel to manage your colours. This ensures consistency across your design.
5. Adding Bleed
- Set Bleed: If your banner will be printed and trimmed, add a bleed. Go to File > Document Setup and set a bleed (typically 0.125 inches).
- Extend Background: Extend the background and any elements that should bleed off the edge to the bleed guides.
6. Proof and Finalize
- Proof Your Design: Check for spelling errors, alignment issues, and ensure all images are high resolution.
- Save Your Work: Save your Illustrator file (.ai) for future edits.
- Export for Print: Export the file for printing. Go to File > Save As, and select PDF. In the save dialogue, choose High-Quality Print preset and ensure Use Artboards is checked. Include bleeds and marks if required by the printer.
7. Final Checks
- Check File Size: Ensure the file size is manageable and within the printer’s requirements.
- Send to Printer: Send the exported PDF file to your printer, following their guidelines for submission.
Useful tips
- Check Printer Requirements: Always check with your printer for any specific requirements, such as file formats, colour profiles, and bleed specifications.
- Proof Colors: If possible, get colour proof from your printer to ensure the colours print as expected.
- Use Vector Graphics: Prefer vector graphics for logos and icons to maintain quality at large sizes.
Following these steps will help you create a professional and high-quality banner in Adobe Illustrator suitable for large-format printing.
How to Install a Large Banner
Installing a large banner requires careful planning and execution to ensure it is displayed securely and looks professional. Here are the steps to follow:
1. Choose the Installation Location
- Flat Surface: A building wall, fence, or billboard.
- Between Poles: If the banner is to be suspended.
- Freestanding Frame: If you have a banner stand.
2. Prepare the Installation Surface
- Ensure the surface is clean and free from debris.
- If installing on a wall, make sure it’s sturdy enough to hold the banner.
3. Mark the Positions
- Use a measuring tape to measure the height and width of the banner.
- Mark the top corners where the banner will be installed using a marker or chalk.
4. Install Hooks or Eye Bolts
- For walls or fences: Drill holes and insert wall anchors if necessary. Then screw in hooks or eye bolts.
- For poles: Ensure there are hooks or loops in place.
5. Attach the Banner
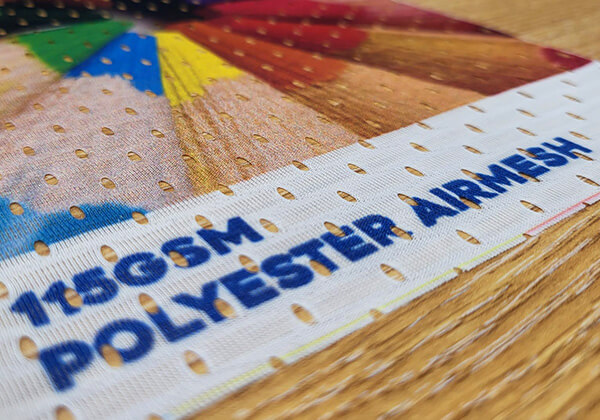
With eyelets: If your banner has eyelets (metal-reinforced holes), attach ropes or bungee cords through the grommets.
- Start with the top corners: Secure the top two corners first to ensure the banner is level.
- Then secure the bottom corners.
- Finally, secure the sides if needed.
-
Without Grommets: If the banner doesn’t have grommets, you can use banner clips or adhesive strips (ensure these are strong enough to hold the banner and suitable for the surface).
6. Ensure Proper Tension
- Tighten the ropes or bungee cords to ensure the banner is taut and wrinkle-free.
- Avoid over-tightening as this might damage the banner or the surface it’s attached to.
7. Double-Check Alignment
- Step back and check that the banner is level and properly aligned.
- Adjust as necessary.
Tips for Different Installations
- Outdoor Installations: Ensure the banner is made of weather-resistant material and uses UV-resistant inks. Secure the banner more firmly to withstand wind.
- Indoor Installations: Ensure the banner is clean and free of dust before installation.
- On Poles: Make sure the poles are firmly planted and stable.
Additional Considerations
- Permits: Check if you need a permit for installing large banners, especially for outdoor or public installations.
- Safety: Ensure you use proper safety gear, especially when working at height. Have someone assist you if the banner is very large or heavy.
- Maintenance: Regularly check the banner for wear and tear, especially if installed outdoors.


