


FAQs
What is a feather flag?
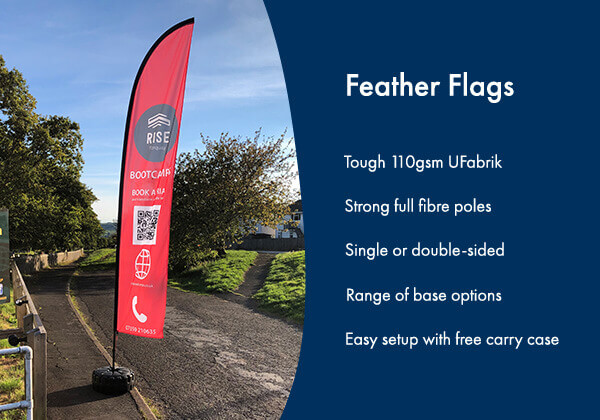
Feather flags are tall, fabric banners used for advertising at events, retail locations, and exhibitions. Each feather flag is mounted on a pole and easy to set up.
What is the difference between a swooper flag and a feather flag?
They are essentially the same product with different names. Sometimes also referred to as feather banners or promo flags.
How long do feather flags last?
Typically 4-6 months depending on use and exposure. Frequent outdoor use in harsh weather may shorten lifespan. You can increase longevity by following these two care tips:
- Take down tour flags in extreme weather conditions
- Ensure there is sufficient space for your flag to rotate freely
What max wind speed can feather flags survive?
Our full fibre poles are wind-tested up to 45kph. Choose the right base for extra stability.
Are the feather flags washable?
Yes, our feather flags can be hand or machine washed at 30°C using regular household detergents. Flat dry your flag and avoid ironing to maintain its quality.
They’re also recyclable, meaning you can order shiny new ones without harming the environment.
How to assemble feather flags
Assembling feather flags is relatively simple. Here’s a quick video to help you through the process.
Or use the 5 steps below:
1. Connect the pole sections
Begin by connecting the pole segments. The top section is easily identifiable by its rubber end cap.
2. Assemble the pole
Insert the slip-fit end of the smaller pole into the larger one to form a secure, continuous shaft.
3. Insert the pole into the flag
Slide the assembled pole into the sleeve of the feather flag until the rubber end cap reaches the closed pocket at the top.
4. Adjust the flag tension
Loosen the wingnut (if present) to relieve tension, then re-tighten once the flag is fully in place to keep it taut and secure.
5. Set Up the Base
- 30 Litre Base: Ensure the screw lid is on top to prevent water leaks. Insert the pole into the fixing point and tighten the wingnut securely so the flag stays upright and stable.
- 20 Litre Base: Make sure the screw lid is on top to avoid spills. Twist to lock in place, then loosen the end fitting, insert the pole fully, and tighten to secure.
- Ground Spike: Ideal for outdoor use. Insert the spike into soft ground, using a soft-headed mallet for firmer surfaces to reach proper depth. Then insert the pole into the spike and ensure it’s upright.
- 2-Pronged Tyre Base: Place the base plate underneath the prongs. Align the holes on the pole fixing, stand, and base plate. Insert the screws, tightening them by hand first for easier alignment. Then, use an Allen key to fully tighten the bolts and ensure a secure, stable fitting.


